InstantWeb is a Restaurant / Food Ordering
Website SAAS (Multitenancy).
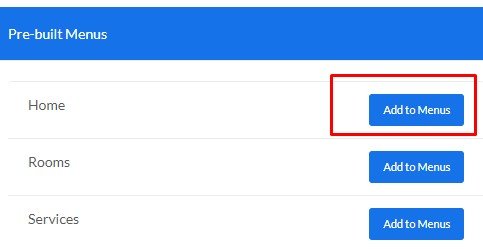
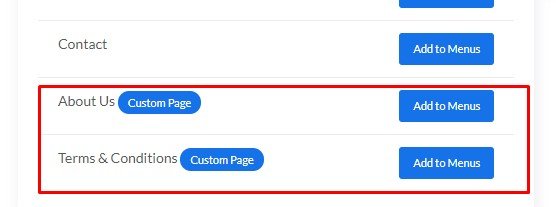
Tenant can use InstantWeb to create
restaurant / food ordering websites within
minutes.
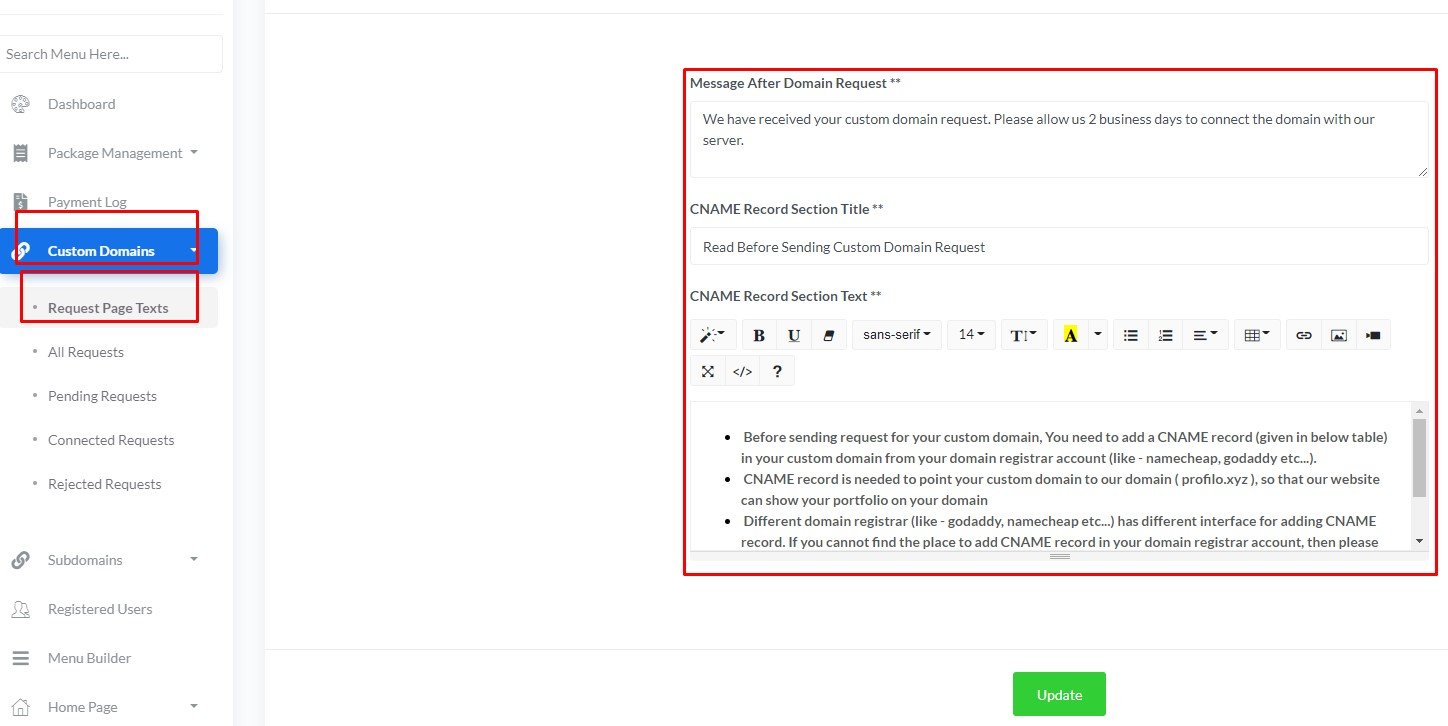
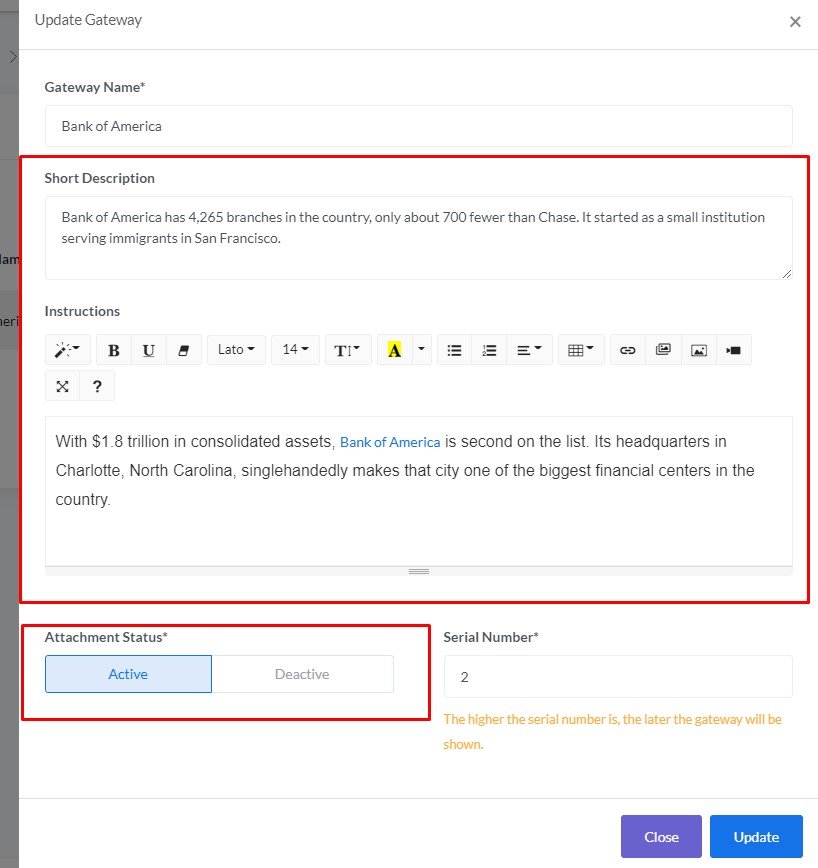
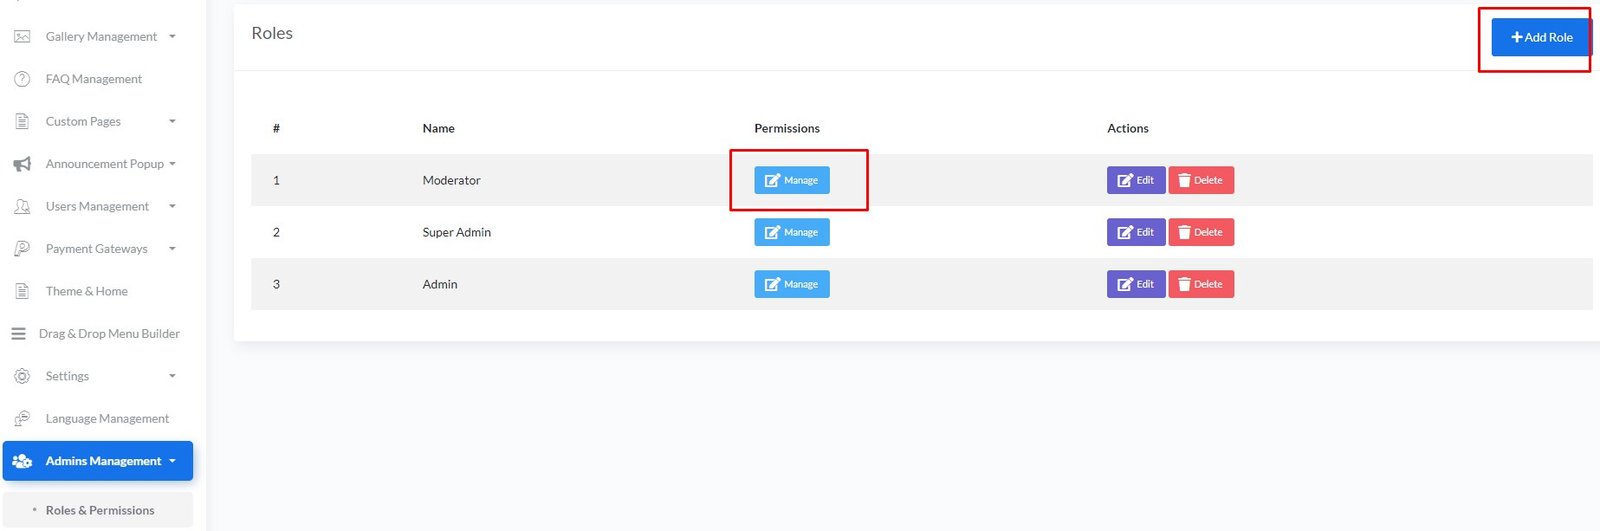
Admin can create
monthly / yearly / lifetime packages, control
features for that packages. Admin can make a package
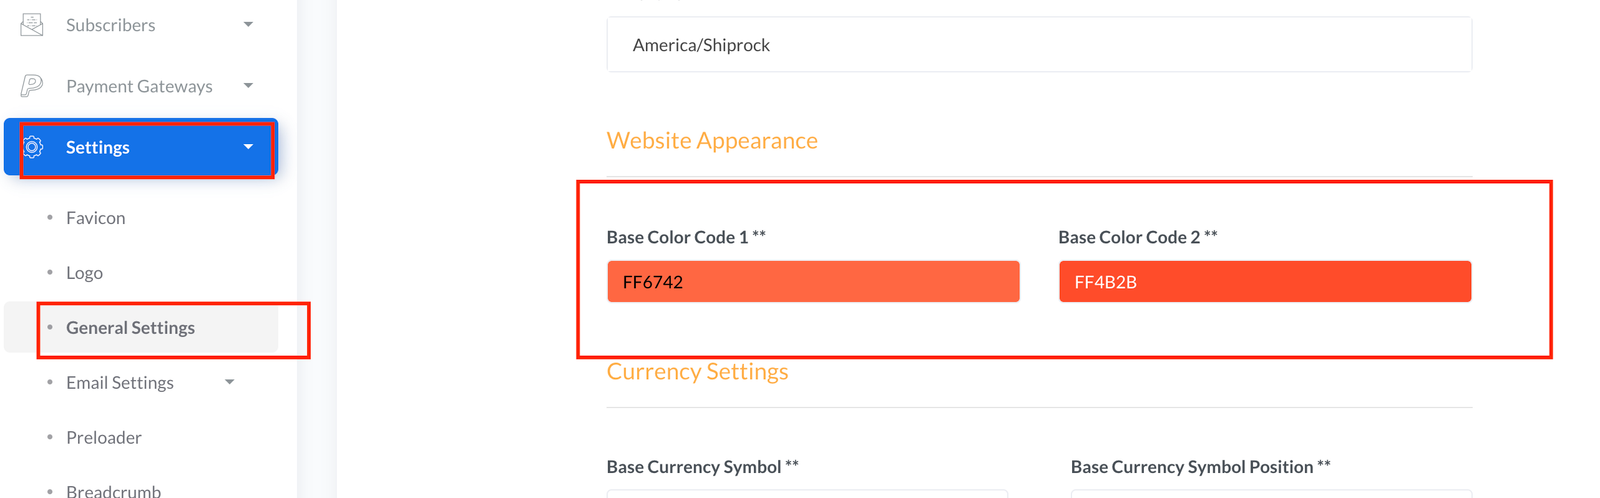
Free, Trial, Premium The Admin's website
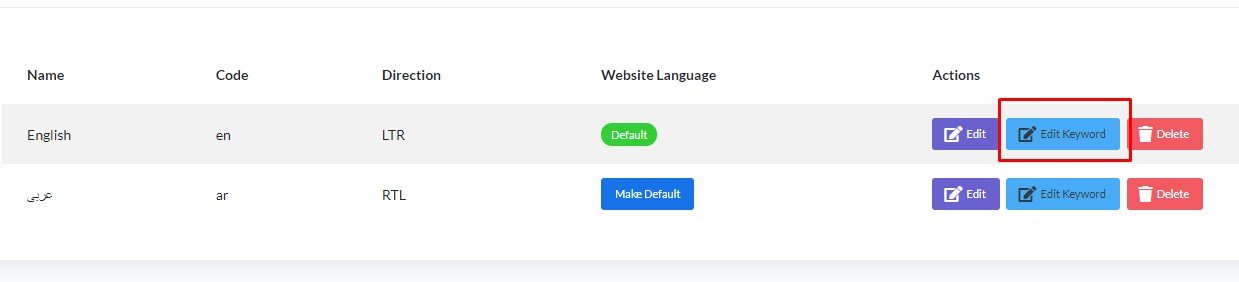
frontend part is
Multi-lingual & also RTL supported
Tenants can purchase this packages & have a user dashboard to
create a food ordering website. They can upload menus, receive
orders, manage orders / customers
Eroder provides
19 automated payment gateways & unlimited offline
gateways
for both Admin & Tenant.
Tenant's Food Ordering frontend part is fully
Multilingual & RTL Supported
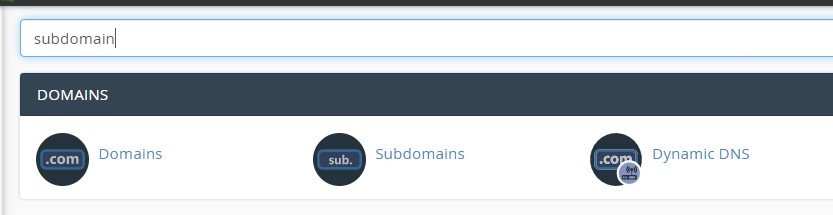
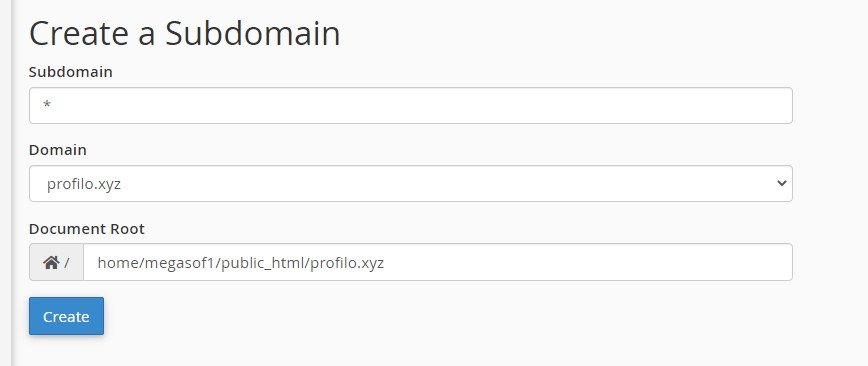
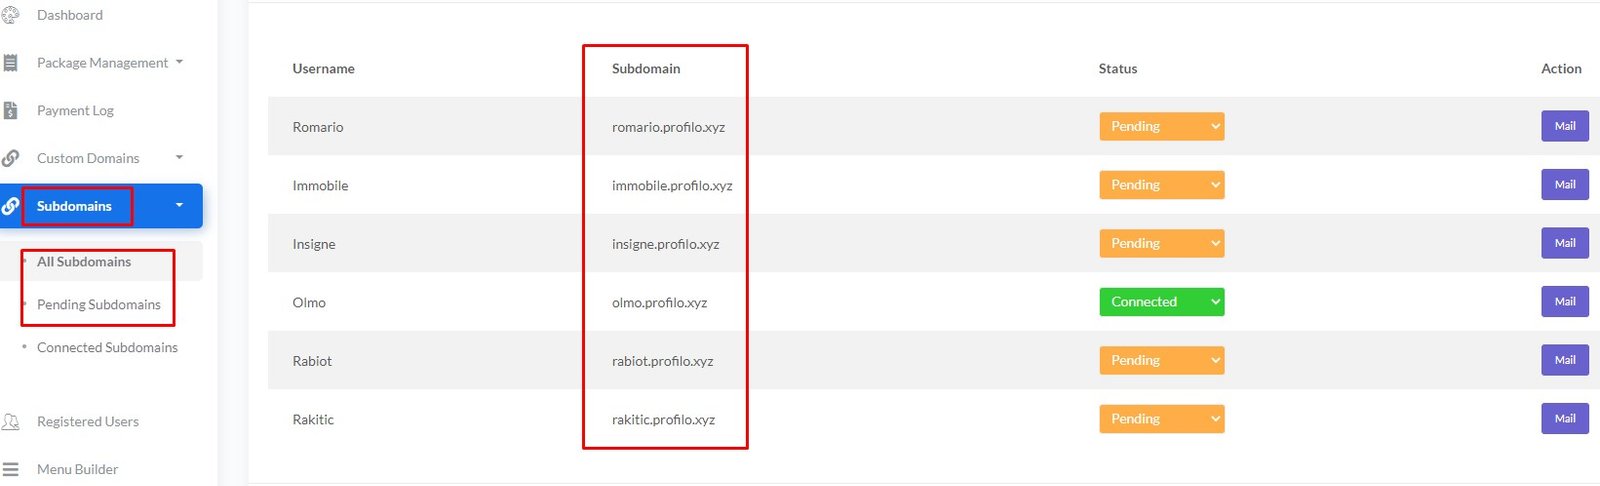
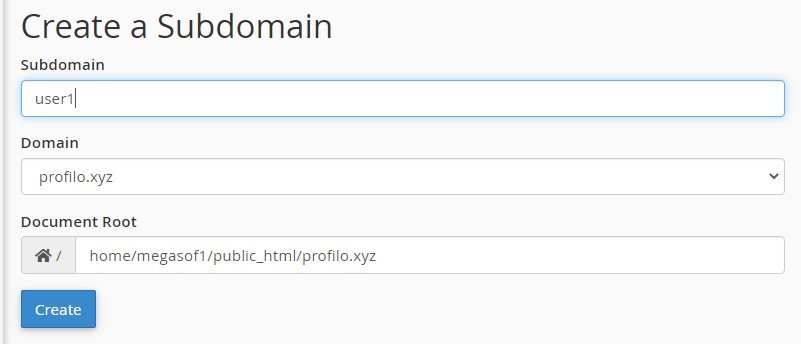
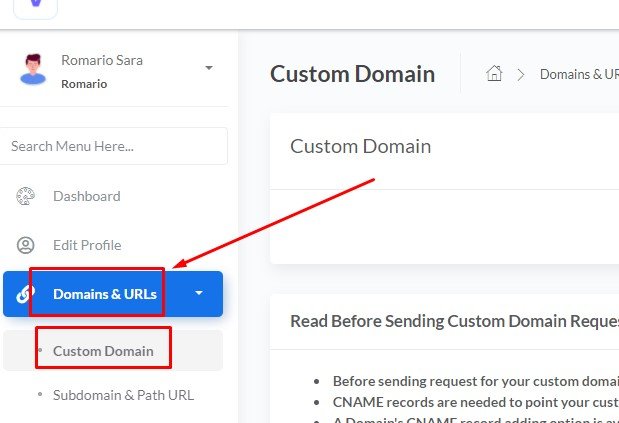
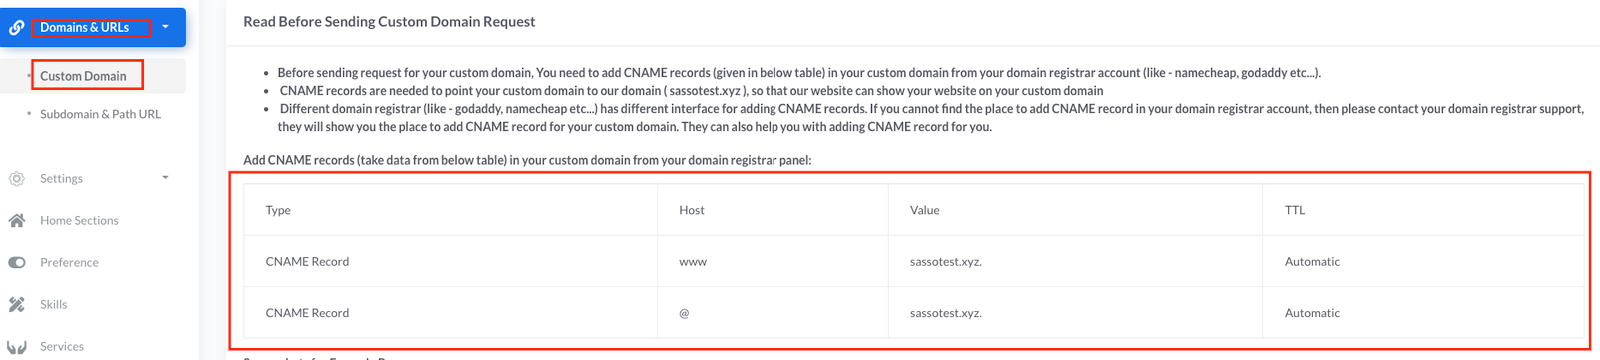
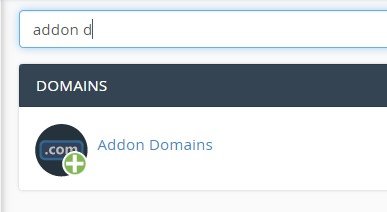
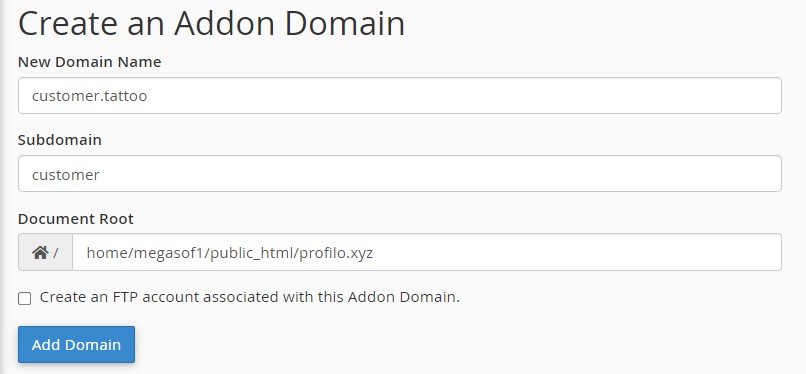
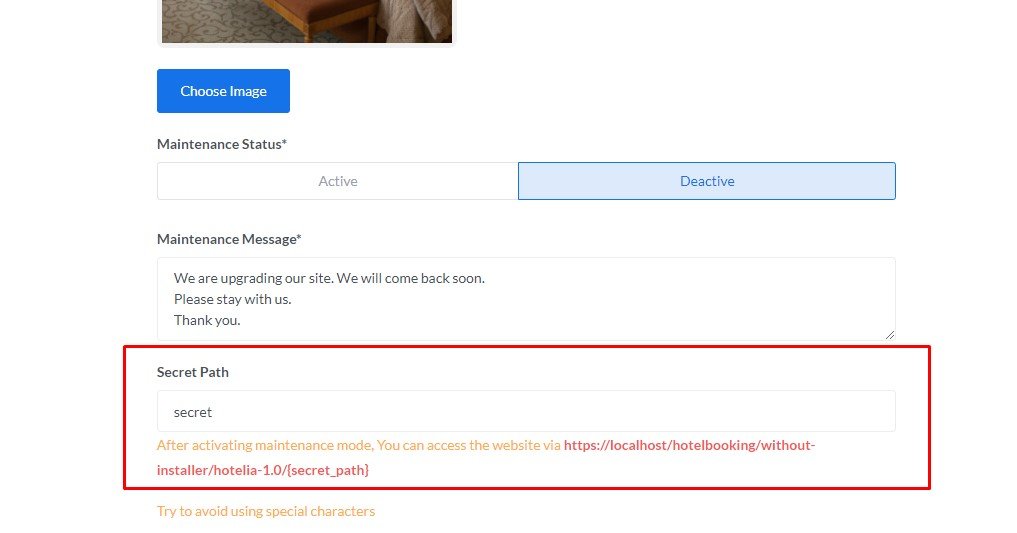
InstantWeb provide vast features for tenants like -
custom doamin, automaric subdomain, whatsapp order, pos, qr
order, website order, sales report / export, advanced qr
builder with prebuilt templates, home delivery / pickup / on
table orders, item addons / variations, staffs management with
permissions, live orders, pwa installability feature, push
notification, call waiter, table reservations with form
builder, postal code based delivery (on / off), social logins
& so much more